

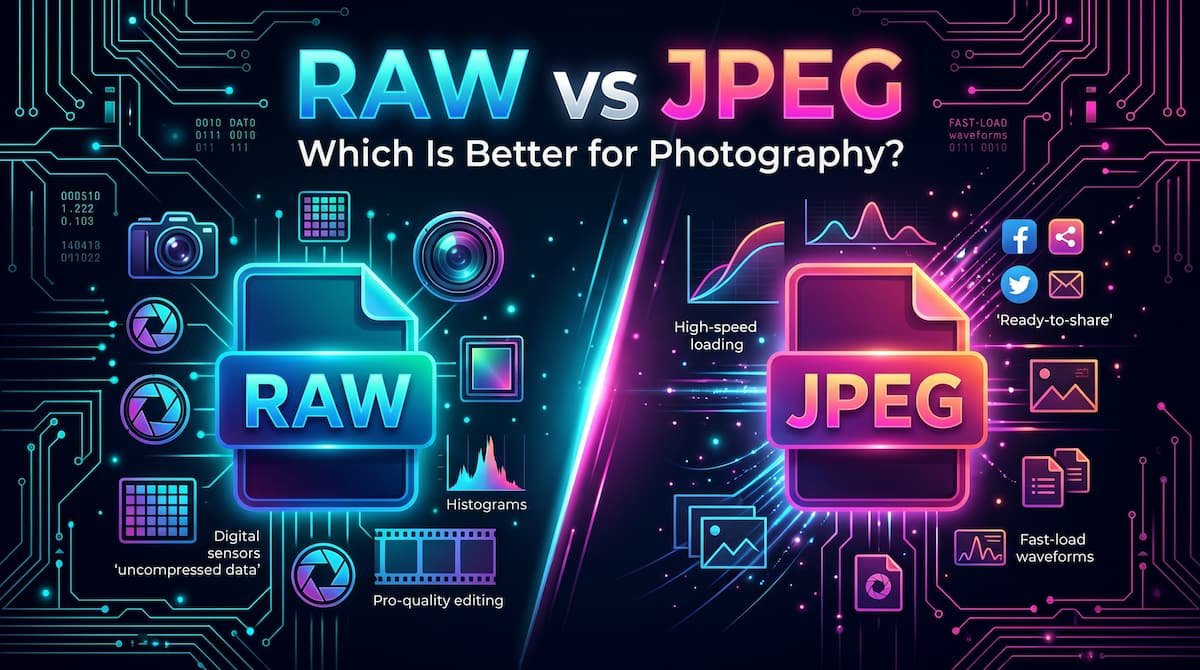
RAW vs JPEG made simple: compare editing power, file size, quality and speed, see best uses for each, avoid common mistakes and pick the right format.
Quick Answer
Choose RAW if you plan to edit your photos seriously and want the most control over light, colour and detail. Choose JPEG if you want photos that are ready to share instantly, take up little space and open everywhere.
For more technical background, see the raw image format overview on Wikipedia.
That is the short answer to raw vs jpeg.Table of Contents
RAW is like keeping all the ingredients. JPEG is like being served the finished dish. The finished dish is quick and tasty, but you cannot change the recipe later. RAW gives you the ingredients, so you can cook it your way — but you must do the cooking yourself.
Neither format wins for everyone. A wedding photographer and a parent taking birthday photos have very different needs, and this guide will help you decide which side you are on.
Introduction
Almost every camera and many modern phones hide a small but important choice in their settings: RAW or JPEG. Most people never touch it. They shoot on whatever the camera chose by default, which is usually JPEG, and only discover RAW later when a photo comes out too dark, too bright or with strange colours — and cannot be fixed.
Others swing to the opposite extreme. They hear that professionals shoot RAW, switch everything to RAW, fill their memory card in one afternoon, and then wonder why their photos look flat and dull on the screen and will not open in their usual apps.
Both reactions are understandable, because the difference between RAW and JPEG is not really about which one is “better quality” in a simple sense. It is about when the decisions get made. With JPEG, the camera makes the decisions for you, in a split second, and throws the rest of the information away. With RAW, the camera saves almost everything it saw, and you make those decisions later, on a computer or phone, with far more control.
If you have ever compared formats like HEIC vs JPG, you already know that the format you choose affects size and compatibility. RAW vs JPEG goes one level deeper: it affects how much of the original scene you keep at all.
In this guide we will compare the two formats side by side, explain what each one actually is, walk through the key differences in plain language, show the best uses for each, list honest pros and cons, help you choose by your experience level, cover the mistakes beginners make, and finish with simple steps for shooting and converting both formats. The raw vs jpeg decision is simpler than it looks once you know what to check first.
raw vs jpeg: Quick Comparison Table
The table below sums up raw vs jpeg at a glance.
| Feature | RAW | JPEG |
|---|---|---|
| What it is | Unprocessed sensor data saved almost untouched | A finished, processed and compressed photo |
| File size | Large — typically 20–50 MB per photo on many cameras | Small — typically 3–8 MB per photo |
| Editing freedom | Very high: exposure, white balance and detail can be changed a lot | Limited: small fixes work, big fixes damage quality |
| Quality and detail | Maximum detail the sensor captured | Some detail permanently removed by compression |
| Speed | Slower: bigger files, slower burst shooting and copying | Fast: quick shooting, quick sharing, quick uploads |
| Compatibility | Needs special apps or conversion before sharing | Opens on every phone, computer, website and social app |
| Colour and light already applied? | No — the file looks flat until you edit it | Yes — camera applies contrast, colour and sharpening |
| Skill level needed | Comfortable with basic editing | No editing skill needed |
| Best for | Serious editing, difficult light, paid work | Everyday photos, instant sharing, limited storage |
Note: file sizes above are typical ranges that vary by camera, phone and scene. They are general guidance, not results from a single measured test.
What Is RAW?
RAW is not really one single format. It is a family of formats, and each camera maker has its own version. Canon uses CR2 and CR3, Nikon uses NEF, Sony uses ARW, and phones use formats such as Apple ProRAW and Android DNG. They all share the same idea: save the data from the camera sensor with as little processing as possible. The whole raw vs jpeg story starts here.
Think of a RAW file as a digital negative. When photographers used film, the negative was not the final photo — it was the master copy from which prints were made in a darkroom. A RAW file works the same way. It records far more brightness and colour information than your screen can even show at once, which is exactly why it is so powerful for editing.
A simple example makes this clear. Imagine you take a photo at sunset. The sky is bright and the ground is dark. A RAW file quietly keeps detail in both the bright sky and the dark shadows. Weeks later, you can brighten the ground, calm the sky down, and balance the scene — because the information was saved, even if your first look at the file did not show it.
The trade-off is that a RAW file is not finished. Straight out of the camera it often looks flat, soft and a little grey compared to a JPEG. It is also large, and many everyday apps cannot open it directly. RAW only makes sense if you are willing to process it, usually in apps like Lightroom, Capture One, or free tools such as RawTherapee and darktable. In any raw vs jpeg comparison, RAW stands for maximum quality and total editing control.
What Is JPEG?
JPEG is the most common photo format in the world. When you take a photo and it instantly appears in your gallery, ready to send on WhatsApp or post on Instagram, that photo is almost certainly a JPEG. The same is true for most photos you see on websites — a point we explore in JPG vs PNG and JPG vs WebP. The raw vs jpeg gap is easiest to understand right here.
Here is what happens when your camera saves a JPEG. The sensor captures the scene, and then the camera’s processor immediately goes to work. It sets the white balance, adds contrast and colour saturation, sharpens edges, reduces noise, and then compresses the result to make the file small. This all happens in a fraction of a second, and the camera deletes the data it decided you did not need. Editing is where raw vs jpeg gets practical.
That last part is the key point. JPEG uses lossy compression, which means some information is permanently thrown away to save space. For a well-exposed photo in good light, you will probably never notice. The photo looks great and the file is tiny. But the discarded data is gone forever, which limits how far you can push the photo later in editing.
An everyday example: you take a group photo at a family dinner and send it to everyone within a minute. Nobody opens an editor, nobody adjusts anything, and everyone is happy. That speed and convenience is exactly what JPEG was designed for, and it does the job beautifully. In any raw vs jpeg comparison, JPEG stands for photos that are ready to share instantly.
raw vs jpeg: Key Differences Between RAW and JPEG
1. How Much Information Each File Keeps
This is the biggest difference of all. A RAW file keeps nearly everything the sensor recorded, including far more shades of colour and brightness than a JPEG holds. In simple terms, a JPEG stores colour in a limited way that is fine for viewing, while RAW stores a much deeper record that is fine for editing.
Why does that matter in real life? Because editing is mostly about recovering information. Brightening shadows, rescuing a bright sky and fixing colours all depend on data being present in the file. RAW has that data in reserve. JPEG already spent it.
2. Editing Freedom and Second Chances
With RAW, you can change the white balance after the photo is taken as if you were changing it in the camera. If the photo came out too yellow under indoor lights, you fix it in seconds with no quality loss. You can also recover a surprising amount from photos that are one or even two stops too dark or too bright.
With JPEG, small edits are fine — a little brightness, a gentle crop, a light filter. But big corrections quickly cause problems. Brightened shadows turn grainy and blotchy, skies develop visible bands of colour instead of smooth gradients, and colours start to look unnatural. The file simply does not have spare information to work with.
A good way to think about it: editing a RAW file is like adjusting a recipe before serving. Editing a JPEG is like trying to un-bake a cake.
3. File Size and Storage
RAW files are big. As the table above shows, a single RAW photo commonly takes up several times the space of the same photo saved as JPEG — often roughly five to ten times more, depending on the camera and the scene. These are typical ranges across common cameras, not a promise for every device.
That difference adds up fast. On a holiday where you take 500 photos, JPEGs might use a few gigabytes, while RAW files could use tens of gigabytes. RAW also fills your camera’s buffer faster, which can slow down continuous burst shooting, and copying a day of RAW files to a computer takes noticeably longer.
JPEG’s small size is a genuine advantage, not a flaw. It means more photos per memory card, faster backups, cheaper cloud storage and instant sharing even on slow mobile data.
4. How the Photo Looks Straight Out of Camera
This difference surprises many beginners. A JPEG straight from the camera usually looks better at first glance than the same shot in RAW. The JPEG is punchy, colourful and sharp because the camera already applied its processing. The RAW version looks dull by comparison — because it is waiting for you to apply that processing.
Neither look is the “true” photo. The JPEG look is the camera maker’s recipe. The RAW look is the unfinished starting point. Professionals are not bothered by the flat RAW preview, because they know the final look is theirs to create. But if you never edit, that flat look is what you will be stuck with, which is why shooting RAW without editing makes no sense.
5. Speed and Workflow
JPEG is built for speed at every step. The camera writes small files quickly, so you can shoot burst after burst. The files open instantly in any app, upload in seconds, and can be shared from the camera to a phone to a friend in under a minute.
RAW adds steps. You import the files into an editing app, adjust them, and then export finished copies — usually as JPEGs — before sharing. For ten photos, that might take ten minutes. For a wedding with two thousand photos, it is a serious workflow that professionals build their whole day around. The results can be worth it, but the time cost is real.
6. Compatibility and Sharing
JPEG wins this round completely. It opens on every device, every website, every social platform and every printing shop on earth. Nothing needs converting.
RAW files are pickier. Many phones and computers can preview common RAW formats today, but support varies by camera model, and some apps, websites and clients simply cannot open them. You will almost always need to convert RAW to JPEG (or another common format) before sending your work to anyone. Even the final step of most RAW workflows is, ironically, a JPEG. Every raw vs jpeg difference above comes back to unfinished data with full control versus a finished photo with none.
raw vs jpeg: Best Uses of RAW
- Weddings and paid events: One chance to get the shot, unpredictable light, and clients expecting polished results. RAW’s recovery power saves photos that would be lost as JPEGs.
- Landscapes: Scenes with bright skies and dark ground in the same frame. RAW lets you balance both instead of choosing one.
- Difficult or mixed lighting: Indoor events with yellow lights, concerts, and sunset portraits, where white balance and exposure need correcting later.
- Large prints and portfolios: When every bit of detail matters because the photo will be seen big.
- Learning photography seriously: Editing RAW files teaches you how light and colour really work, faster than almost anything else.
raw vs jpeg: Best Uses of JPEG
- Family, travel and everyday photos: Moments you want to enjoy and share now, not edit later.
- Social media: Instagram, Facebook and WhatsApp compress your uploads anyway, so a good JPEG is all you need.
- Sports and action bursts: Small files keep the camera shooting fast without filling the buffer.
- Limited storage: Small memory cards, nearly-full phones and slow internet connections all favour JPEG.
- Beginners: When you are still learning composition and light, JPEG lets you focus on taking photos instead of processing them.
- Quick client previews and school or office work: Anywhere speed and compatibility matter more than editing depth. For everyday photos and instant sharing, raw vs jpeg usually ends in JPEG’s favour.
Pros and Cons
RAW — Pros
- Maximum detail and colour information from your sensor
- Huge freedom to fix exposure and white balance later
- Better results in difficult light and high-contrast scenes
- Non-destructive editing: your original stays untouched
- The professional standard for paid and printed work
RAW — Cons
- Very large files that fill cards and drives quickly
- Looks flat until you edit it — extra work on every photo
- Slower shooting bursts, copying and backing up
- Needs special software and does not open everywhere
- Pointless if you never actually edit
JPEG — Pros
- Small files: more photos, faster sharing, cheaper storage
- Looks good straight out of the camera, no editing needed
- Opens on literally every device and platform
- Fast workflow from shooting to sharing
- Modern cameras produce genuinely excellent JPEGs. That is the raw vs jpeg balance in one line.
JPEG — Cons
- Limited editing room; big fixes damage quality
- Detail and colour data are permanently thrown away
- Mistakes in exposure or white balance are hard to rescue
- Re-saving a JPEG again and again slowly reduces quality. This is where the raw vs jpeg choice really bites.
raw vs jpeg: Which Should You Choose?
Beginner
Start with JPEG. Learn to see light, frame your subject and hold the camera steady. Those skills improve your photos far more than a format change will. Once you find yourself wishing you could rescue photos that came out wrong, that is your sign to try RAW.
Student
Use both, on purpose. Shoot class projects and anything you will present or print in RAW (or RAW+JPEG if your camera offers it), so you can practise editing. Keep casual photos as JPEG to save your laptop space. If your course includes printing, it also helps to understand print-focused formats like TIFF vs PNG.
Creator
Match the format to the platform and the deadline. For fast social content, thumbnails and behind-the-scenes shots, JPEG is efficient and more than good enough. For your best work — the cover photo, the portfolio piece, the sponsored shot — shoot RAW so you have full control over the final look.
Professional
RAW should be your default for paid work, weddings, products and landscapes. Your clients are paying for results, and RAW gives you the safety net to deliver even when the light fights you. Many professionals shoot RAW+JPEG: the JPEG for quick previews, the RAW for the final edit. Decide raw vs jpeg by what happens after the shot — serious editing or instant sharing — and the choice makes itself.
raw vs jpeg: Common Mistakes
- Shooting RAW but never editing. You get all the disadvantages — huge, flat files — and none of the benefits. If you will not edit, choose JPEG proudly.
- Shooting only JPEG for a once-in-a-lifetime event. A wedding, a birth, a graduation. Storage is cheap; the moment is not. Use RAW, or RAW+JPEG, for the days that cannot be repeated.
- Judging RAW by its dull preview. The flat look is normal. It is a starting point, not the final photo.
- Thinking RAW fixes bad photography. RAW cannot rescue a photo that is badly out of focus or shaken. It helps with light and colour, not with missed focus.
- Deleting RAW files after exporting JPEGs. The exported JPEG is a copy. The RAW file is your negative. Back it up before you delete anything.
- Filling your only memory card. RAW’s size surprises people mid-shoot. Check your remaining shots counter and carry a spare card.
- Editing a JPEG over and over. Each re-save adds compression damage. Always edit a copy, and keep the original untouched. Most raw vs jpeg regrets come from exactly these avoidable errors.
How to Shoot RAW and Convert Your Photos
Switching to RAW takes less than a minute on most devices:
- On a camera: Open the menu, find Image Quality (or Record Format), and choose RAW, or RAW+JPEG if you want both at once.
- On iPhone: Go to Settings → Camera → Formats and turn on ProRAW, then use the RAW button in the Camera app when you want it.
- On Android: Open the camera’s Pro or Expert mode, or check Settings → Advanced for a RAW/DNG option, depending on your brand.
- Take your photos as normal. Remember that the preview will look a little flat — that is expected.
- Import into an editor. Lightroom, Capture One, or free options like darktable and RawTherapee all work well. Snapseed and Lightroom Mobile handle phone RAW files too.
- Make your basic edits. Adjust exposure first, then white balance, then highlights and shadows, then colour and sharpness.
- Export as JPEG for sharing. In the export dialog, choose JPEG, sRGB colour space, and a quality setting around 85–90 for a good balance of quality and size. Keep the RAW original saved as your master file.
To convert a single RAW file quickly without a full editor, most camera makers offer free converter software, and many online converters exist — but for private or client photos, a local app on your own computer is the safer choice. Whichever side of raw vs jpeg you shoot, back up your originals before you edit.
raw vs jpeg: FAQs
Should I turn on RAW mode on my phone, and when?
Turn it on for scenes you care about and expect to edit: sunsets, portraits in tricky light, and low-light shots where you want to clean up noise later. Leave it off for everyday snaps. Phone RAW files are especially large, and for a quick photo of a receipt or a menu, they offer you nothing. This is the core of the raw vs jpeg debate.
How can I open a RAW photo without special software?
Modern Windows, macOS, Android and iPhone can preview many common RAW formats directly, and free apps like Google Photos and Snapseed open most phone RAW files. If a file still will not open, use the free converter from your camera maker, or a free editor like darktable, and export a JPEG copy. That is raw vs jpeg in practice.
If I never edit, is there any benefit to RAW?
Honestly, no. An unedited RAW file usually looks worse than the camera’s JPEG, takes up far more space, and is harder to share. RAW’s entire value is unlocked in editing. No editing, no benefit — JPEG is the smarter choice. That is the raw vs jpeg difference where it counts.
Is JPEG quality really that bad?
Not at all. In good light with correct settings, a camera JPEG looks excellent, and most viewers cannot tell it apart from an edited RAW file. JPEG only shows its limits when a photo needs heavy rescue work. The myth that JPEG is “low quality” is one of photography’s biggest exaggerations. That is raw vs jpeg in daily use.
Can I convert a JPEG back to RAW?
No. Conversion only goes one way. A JPEG has already thrown away the extra data, and no software can invent it back. This is exactly why the choice at the moment of shooting matters, and why RAW+JPEG mode is such a useful safety option. That is the raw vs jpeg difference that matters most.
raw vs jpeg: Final Verdict
Edit seriously = RAW. Share instantly = JPEG.
RAW is better for photography when “better” means control, recovery and maximum quality after editing. JPEG is better when “better” means speed, simplicity and photos that look good right now. The smartest photographers are not loyal to one format — they pick per shoot. A wedding gets RAW. A birthday gets JPEG. A sunset you might print one day gets RAW+JPEG, just to be safe.
Whichever you choose, choose it on purpose, before you press the shutter — not by accident afterwards. That is the raw vs jpeg choice in short: RAW for serious editing and top quality, JPEG for speed and sharing.
Related Articles
- Previous: HEIC vs JPG: Which Is Better for iPhone Photos?
- Next: SVG vs PNG: Which Is Better for Logos?
- Start from the basics: JPG vs PNG: Which Is Better for Photos and Logos?
- For website images: JPG vs WebP: Which Is Better for Photos?




Leave a Reply